HID Instalation on Audi A4 B6
HID Instalation on Audi A4 B6
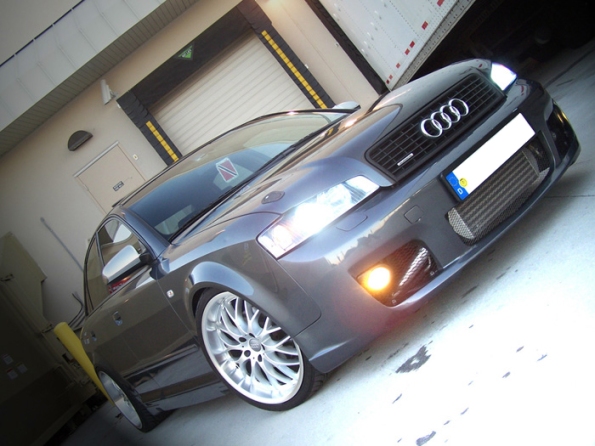
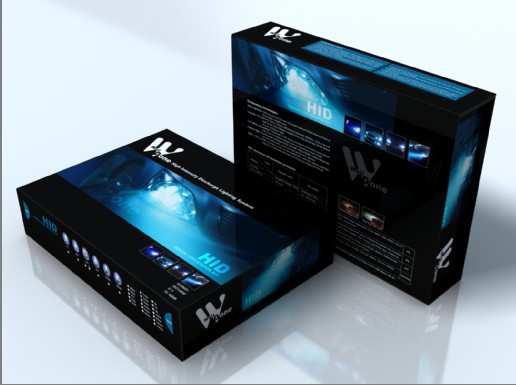
Well-Done HID
Include:
2x H7 HID Bulb (metal base)
2x Digital ballast (Chip Made in Germany)
Instalation Guide
.
We will start disassembling both headlights.
The headlight (driver side) have 4 Torx screws. 2 on the top & 2 on the back of the headlight, we don´t need to remove the screws from the back, just unscrew until they will be loose to be able to take out the headlight.
The headlight is mounted on a track & it will be easy to remove.

To remove the connector we need to push the tab & pull out the connector. Push hard the tab with your finger (be careful if you use a screwdriver to pull out because the tab will break easily)

The other headlight (passenger side) is under the air duct, so you will need to remove it.
You just need to pull to the top. The duck will split in two parts. Pull fearless.

Now you need to remove the 2 Phillips screw that hold the air duck & you will be able to remove it.
Then you can access to the headlight completely & repeat the same operation.

In this picture we can see the track & the 2 Torx screws hided behind the headlight. As you can see, you don´t need to remove them completely.
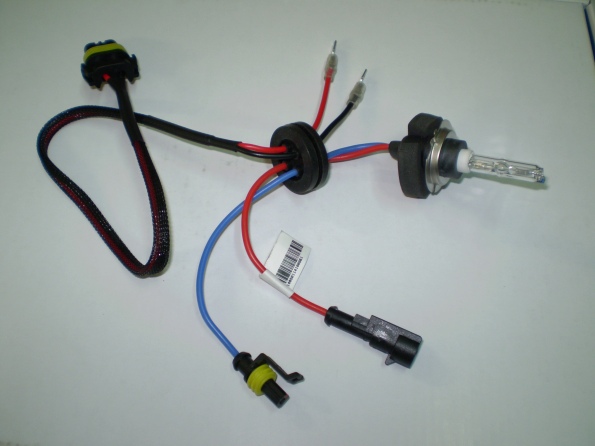
Once we removed the headlights. we take the H7 Well-done bulbs & proceed to change your halogen bulb for the HID bulbs.
It´s important not to touch the glass with your fingers, otherwise the fat from your skin will make the bulbs life to be shorter.
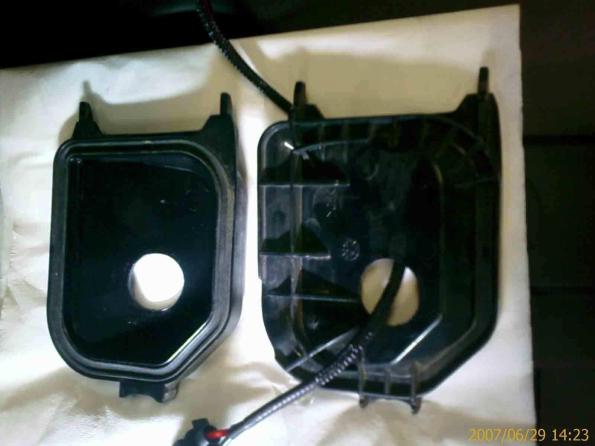
Remove the headlight´s covers & we drill a hole just for the HID bulb cables.
The hole have to be 25mm wide. Later it will be sealed with the rubber included in our HID kit.

We need to remove the wire that keeps the bulbs to be able to pass the bulbs cables. Otherwise will be hard to do it.
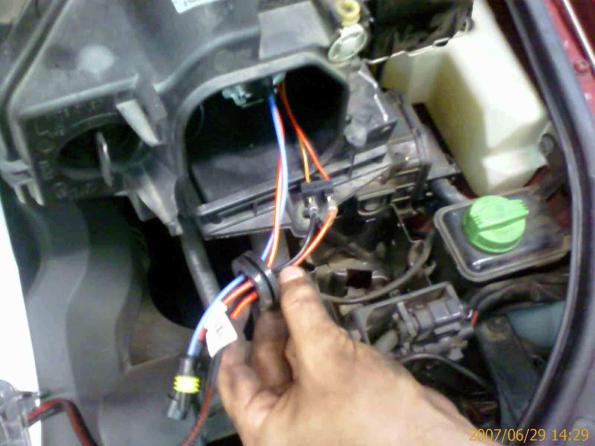
Once we have the bulb installed we use the bulb connectors to feed the HID ballast with 12v.
It´s so easy as to plug the 2 connectors from the bulb.
We plug the black cable with the brown & red with red. Now you can close the headlight cover.

Now we have to install the HID ballast.
In the passenger side we can use stick-on & flanges to hold the ballast.
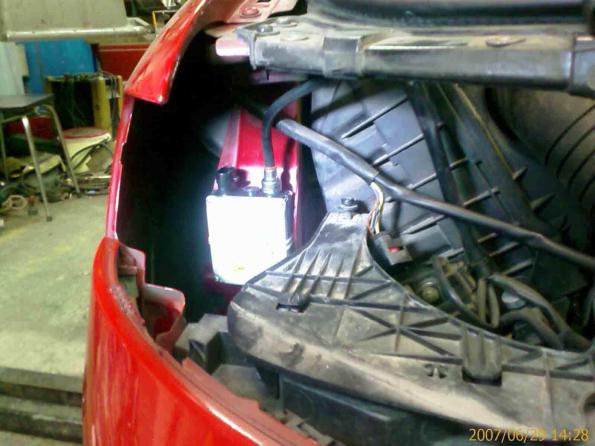
Don´t forget to plug the bulb connector to the HID ballast before tighten the headlight screws, later will be harder.
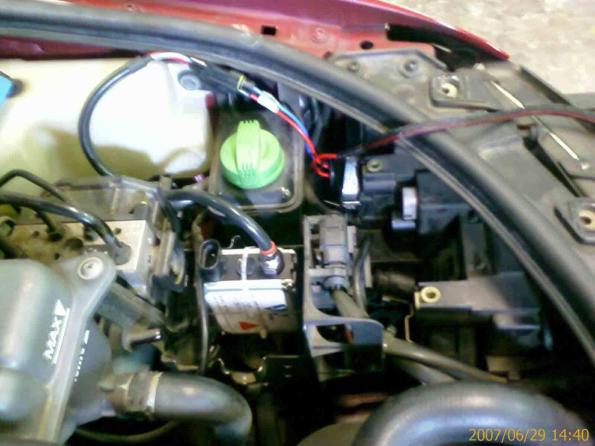
In the drivers side you can hold the ballast easily behind the headlight.
There is a metal frame where the ballast will fit perfectly & we can hold the ballast using flanges & stick-on.
Then we pass the cables under the headlight so the installation will be hided & we plug the connector between bulb & HID ballast.
Now just need to put the headlights in their place & assemble the air hose from the passenger side.

Manual en Documento PDF
how much did you pay?